

How to Export Designs from Figma to After Effects Using AEUX Plugin
Step-by-Step: Export Figma Designs to After Effects via AEUX Plugin


One of the challenges many designers face is having to design in Figma and then export to After Effects to animate their designs. This process can be challenging as there are various methods to consider, ranging from exporting to Adobe XD and then to After Effects, manually exporting PNG files for each layer, or converting assets on Adobe Illustrator before pulling them to After Effects. All of these processes are manual, repetitive, and complex.
Fortunately, the AEUX plugin offers a more seamless way to achieve this. With a bit of technical setup, you can effortlessly import your Figma designs directly into After Effects using the AEUX plugin.
Let’s dive in
I have broken down the process into 5 easy-to-follow steps:
Downloading the AEUX plugin
Downloading ZXP Installer
Installing AEUX for After Effects
Installing AEUX for Figma
Importing your designs from Figma to After Effects.
Downloading the AEUX plugin
Visit aeux.io
Click on the download button


After downloading the AEUX plugin, open the download folder, and you'll find three (3) folders: one for After Effects, Figma, and Sketch. Since the purpose of this post is to explain how to import from Figma to After Effects, we'll focus solely on the After Effects and Figma folders and proceed with their installation.

Note: When you download the AEUX file, you'll notice that it comes as a zip folder. You can open it using either the default "Archive Utility" or download an external application called "The Unarchiver.
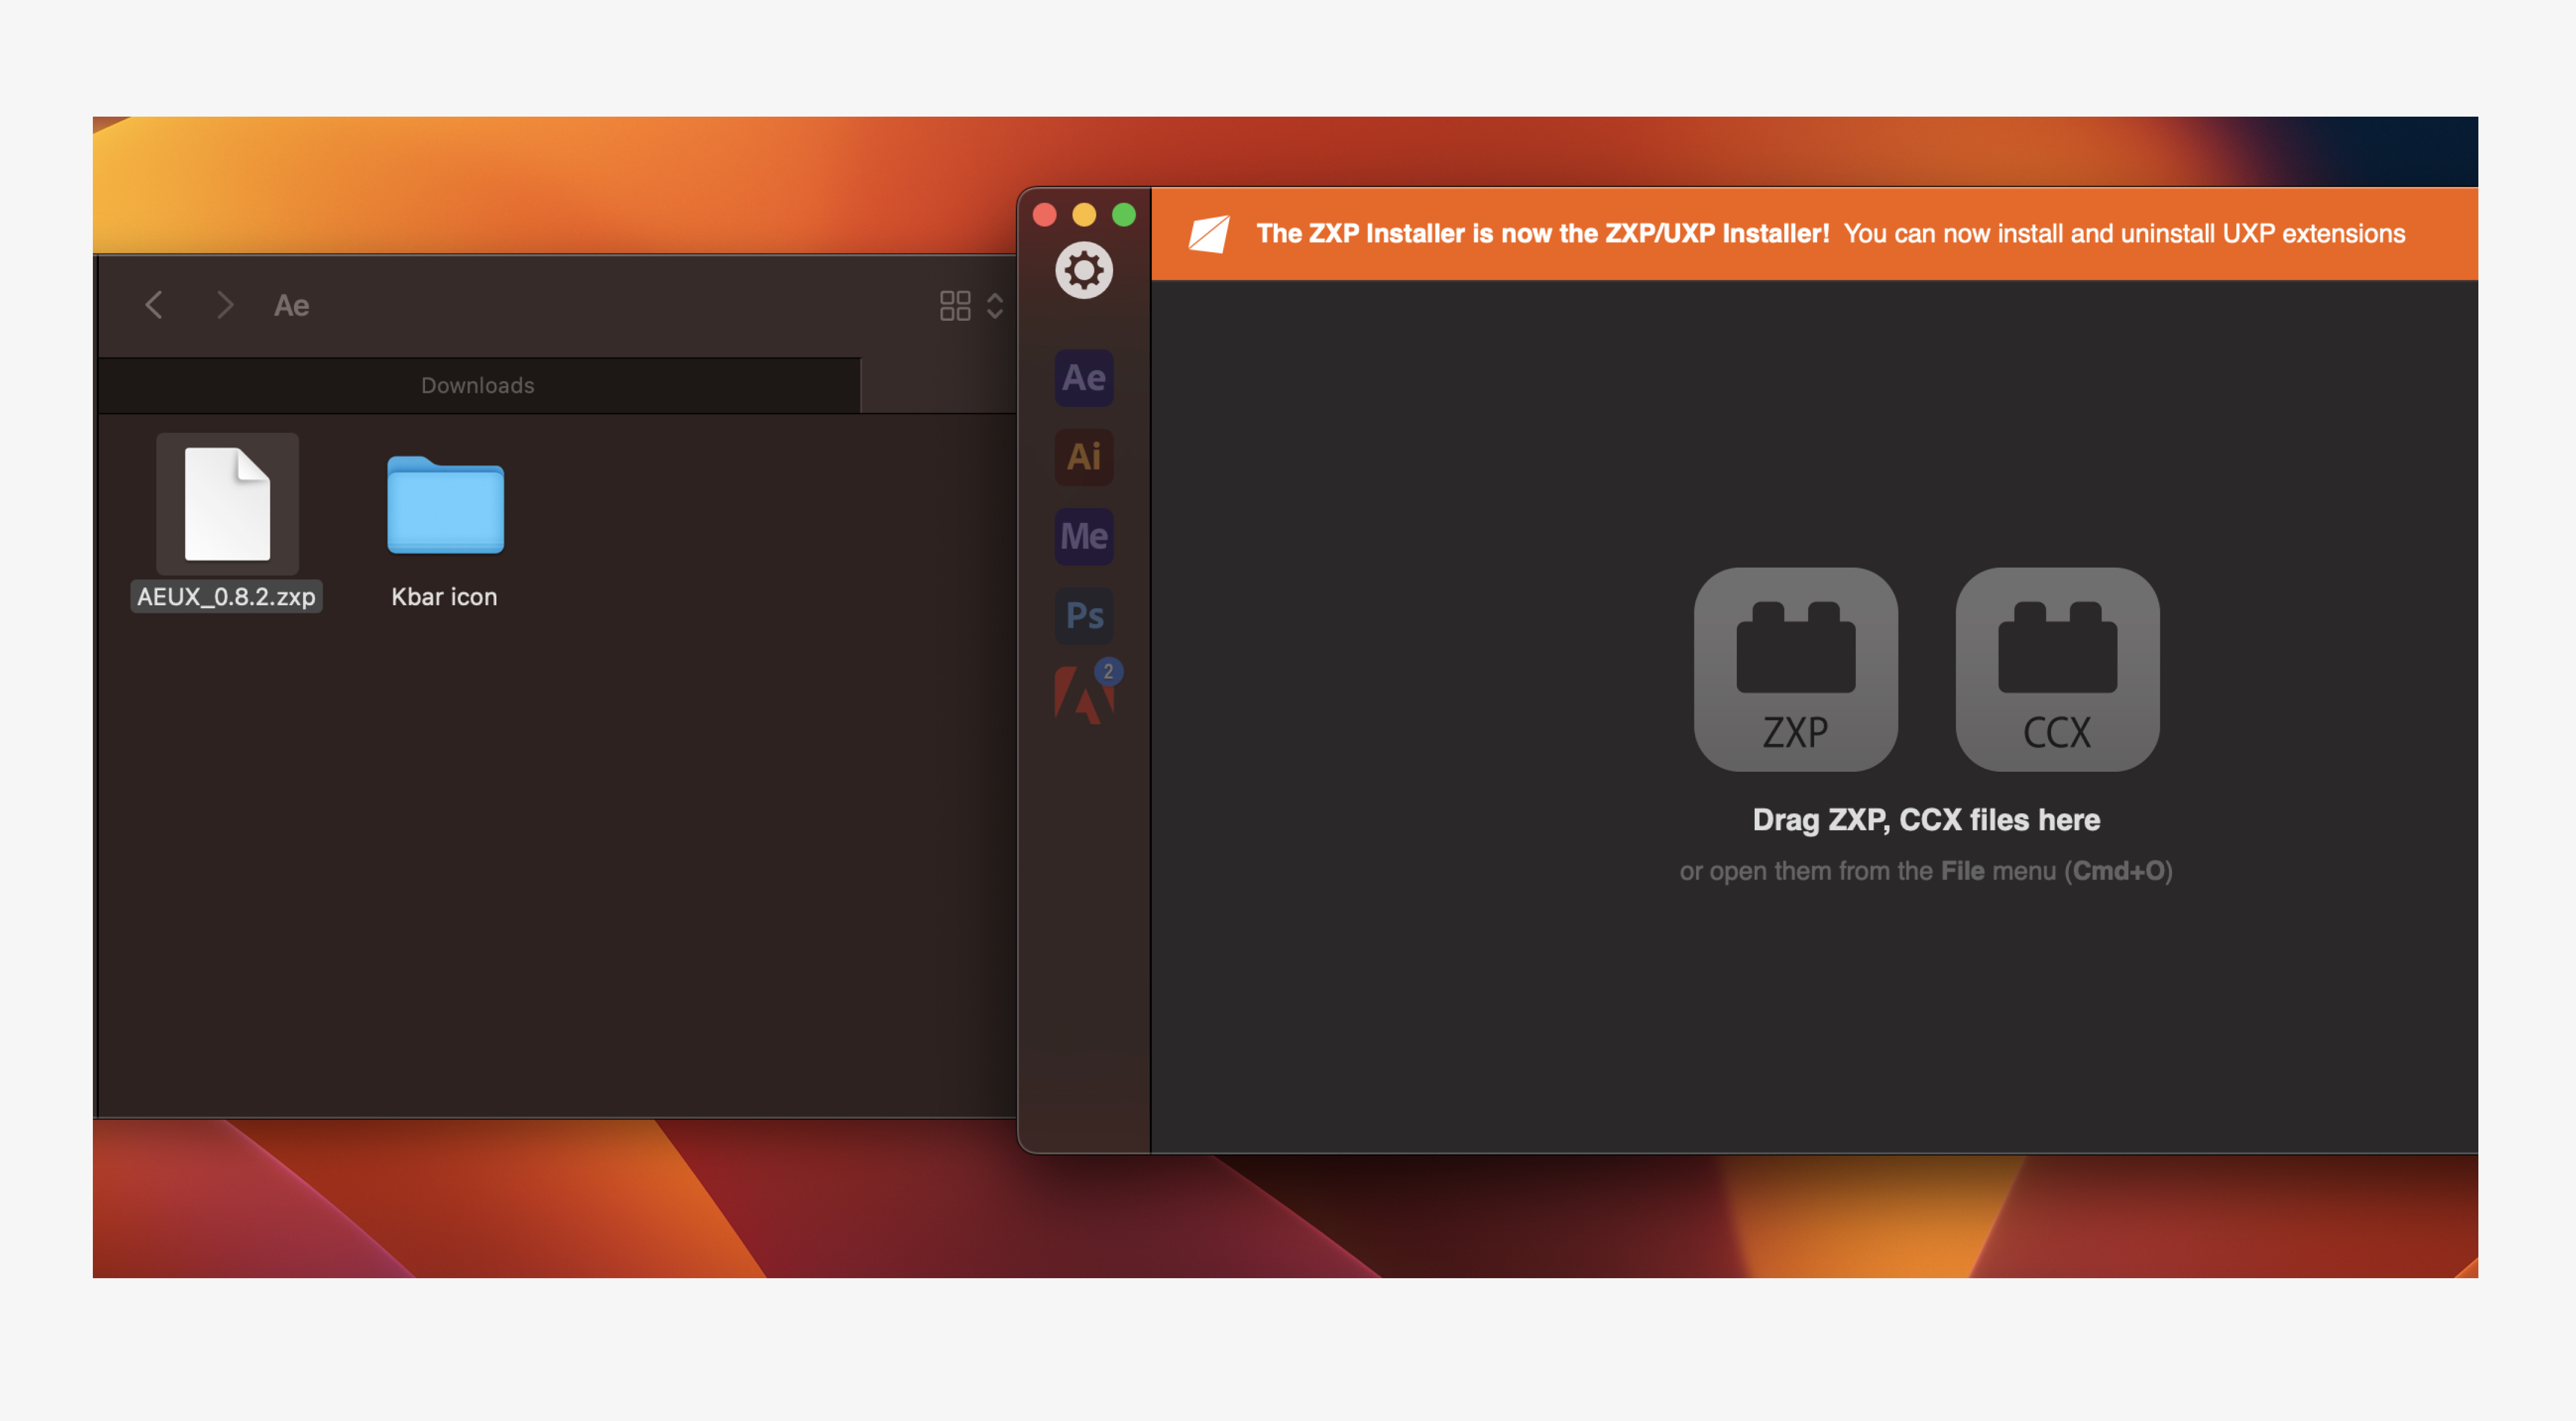
Downloading the ZXP Installer
When you open the After Effects file, you'll notice that it includes a file with the ".zxp" extension. If you don't already have the ZXP Installer, follow the steps below to download it. We'll need it to install the AEUX plugin for After Effects.
To download the ZXP Installer
Go to aescripts.com
You'll see two buttons: one for Windows and another for Mac. Download the appropriate one for your device.

Installing AEUX for After Effects
After downloading the ZXP installer, open it, and then drag the After Effects .zxp file onto the ZXP installer to initiate the installation. Once the installation is complete, you will have the AEUX plugin installed for After Effects.

Note: To open the installed AEUX plugin for After Effects, follow these steps:
Open After Effects.
Go to Windows > Extensions.
Click on the AEUX plugin.


Installing AEUX for Figma
Normally, when you want to install a Figma plugin, you'd go to resources and click on the plugins tab. However, since the AEUX plugin hasn't been published in the Figma community, we'll have to install it manually.
To begin the installation process, follow these steps:
Open up Figma.
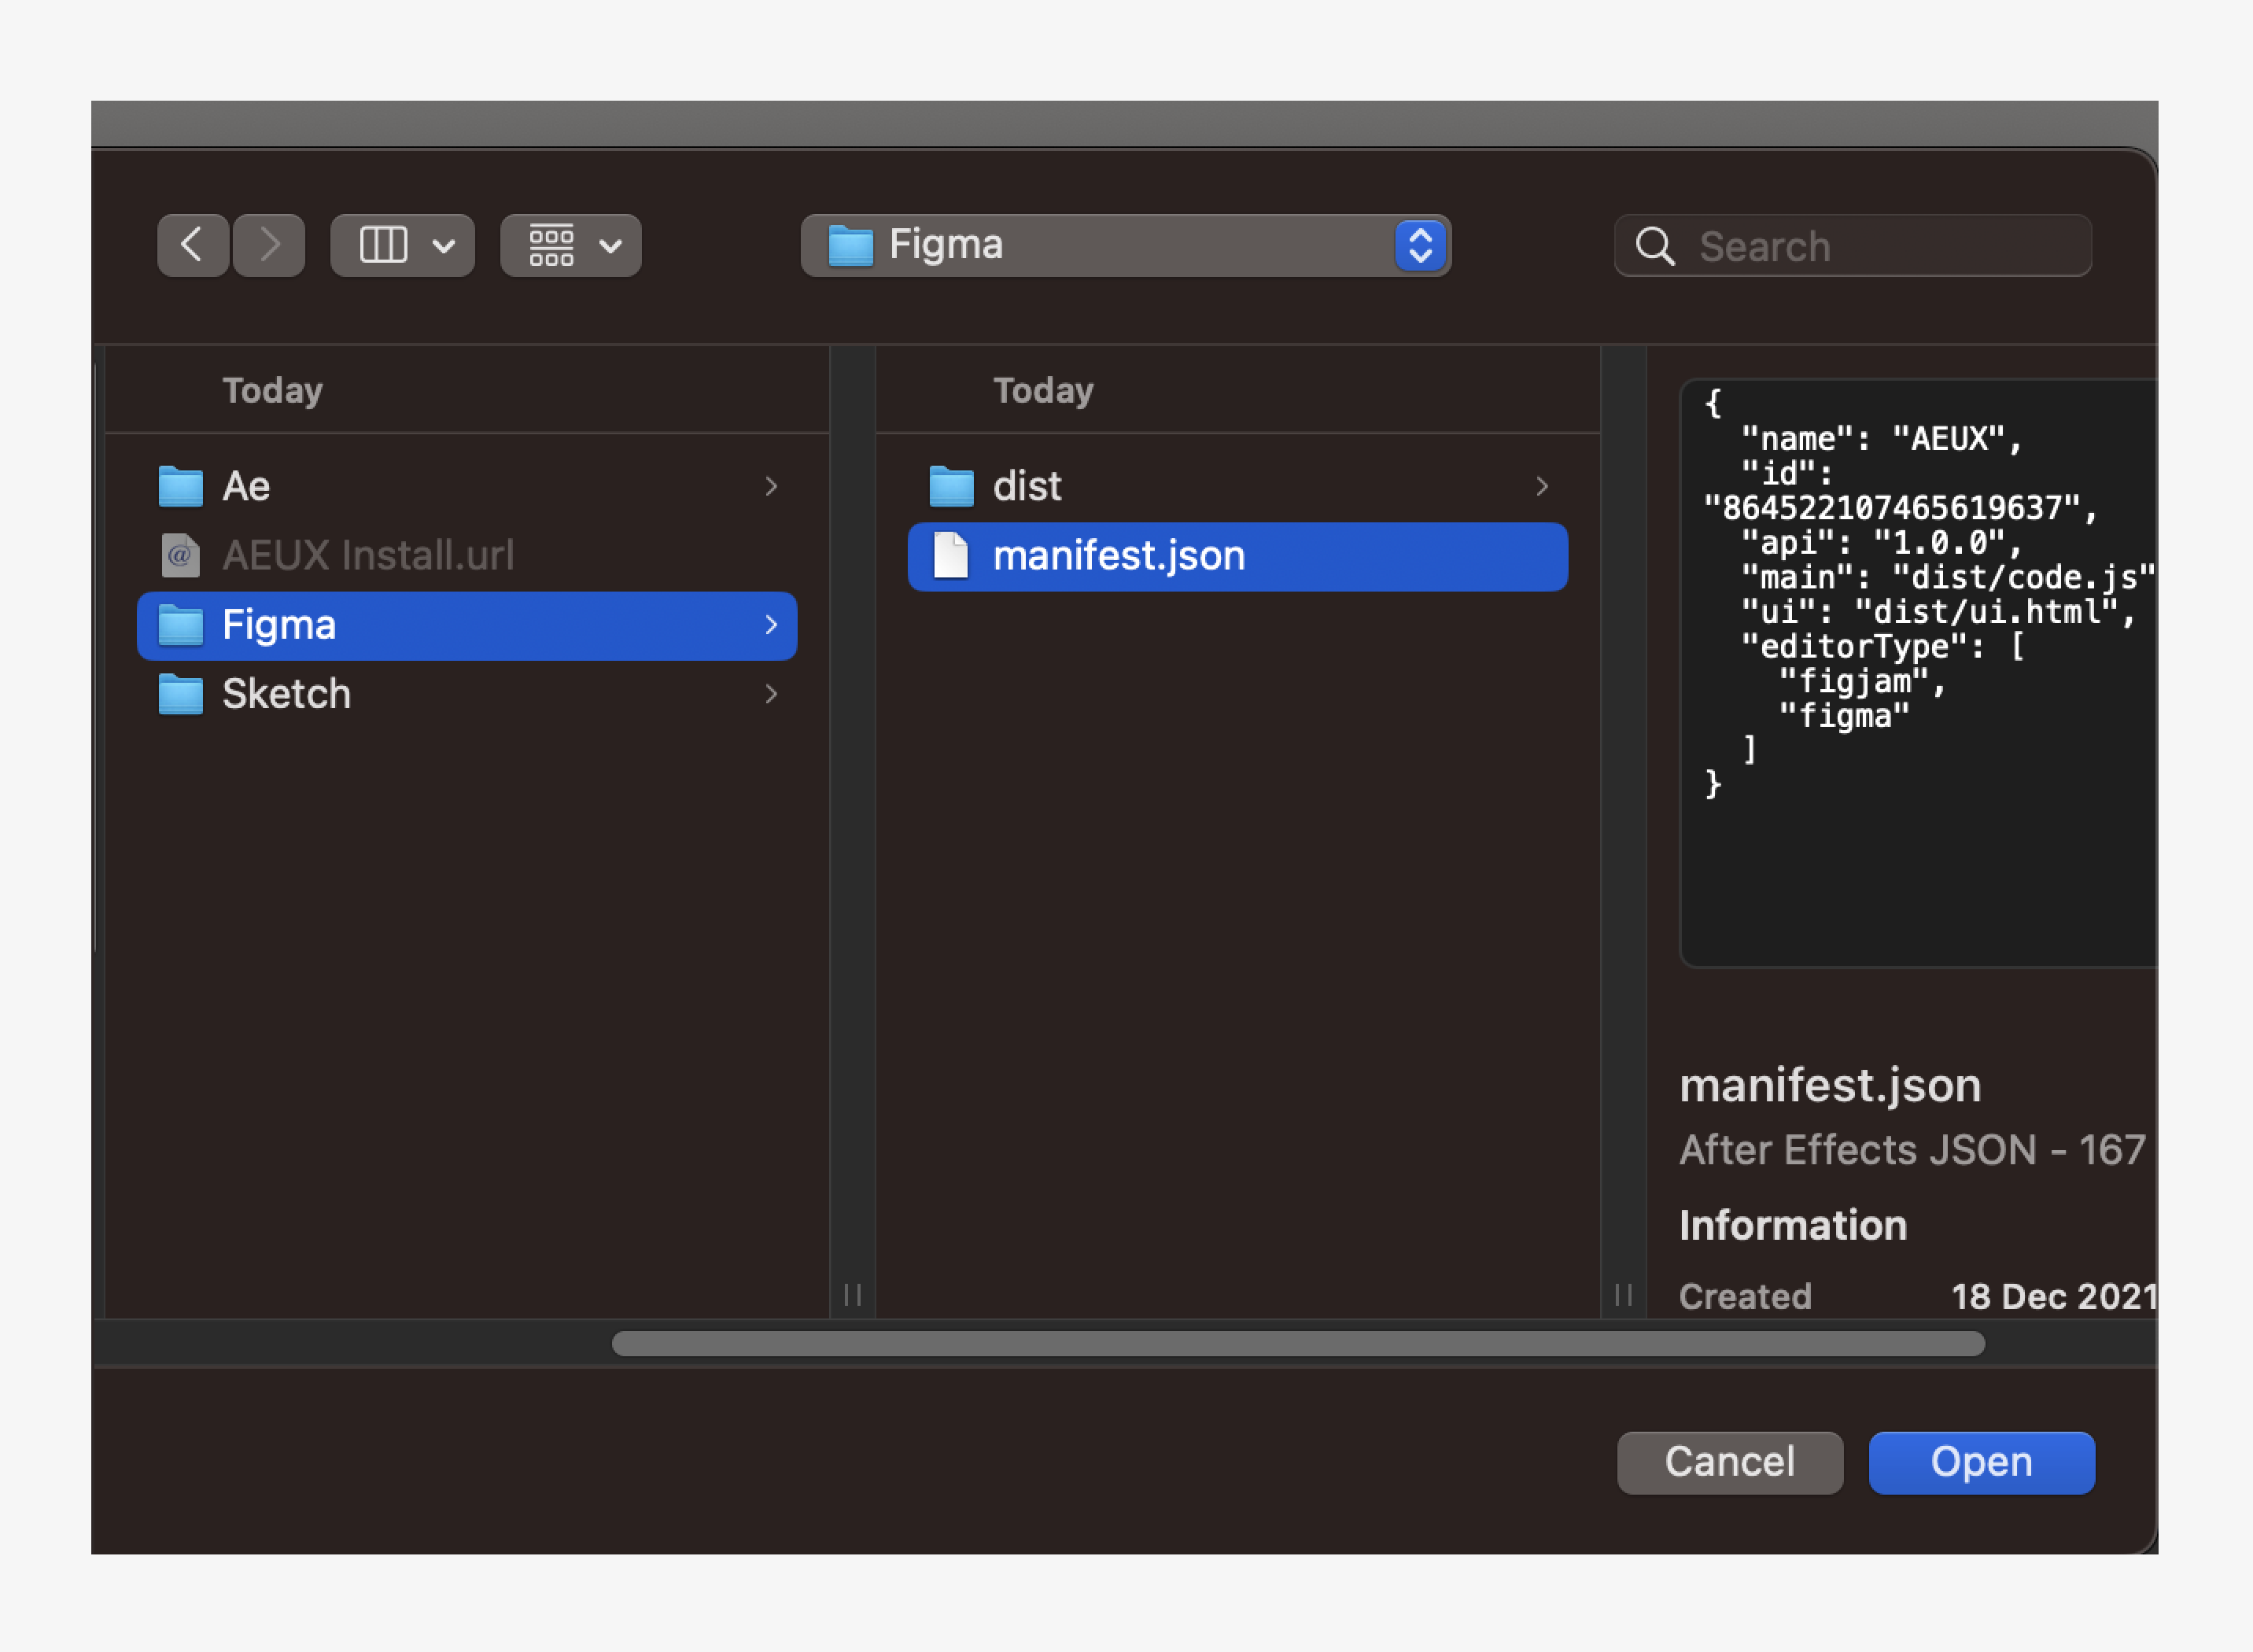
Right-click and select "Plugins" > "Development" > "Import Plugin from Manifest."
Then, navigate to the AEUX Figma folder and open the "manifest.json" file. This will install it.

Importing your designs from Figma to After effects
Now that you have installed both AEUX for After effects and for Figma we can now proceed to importing our Figma designs to Figma
Follow these steps to launch the AEUX plugin on Figma:
Open Figma.
Go to resources and click on the plugin tab. You'll find the AEUX plugin; then, click on "Run" to launch it.

A breakdown of how the AEUX plugin works;
The AEUX plugin has a simple interface. Let’s look at the different actions it offers:
Send selection to AE
The purpose of this feature is to send whatever you select on Figma directly to After Effects. What this means is that when you choose a frame on Figma and click on the action "Send selection to AE," it immediately sends it to After Effects.
Export reference Image
What this does is send a reference image of your selection alongside your frame to After Effects. Typically, you'll want to click on this option before clicking on the "Send selection to AE" action. Exporting a reference image is useful in cases where your exported frames get misaligned in Figma, and you need a visual guide of what your design looks like. It helps you accurately place things in their correct position.
Rasterise layer on export
You would also want to choose this option before clicking on export. What this action does is rasterize the selected group in your design, converting them into a single layer (usually png) when you export to After Effects. A good use-case would be logos, which often consist of numerous layers, text, shapes, etc. If you do not need full control over the logo elements for your animation project, then rasterizing them makes sense. Additionally, when you click on "Rasterize layer on export," you'll notice an asterisk (*) beside it.

Conclusion
I hope you have found this guide to be incredibly helpful, enabling you to easily export your designs to after effects seamlessly.
